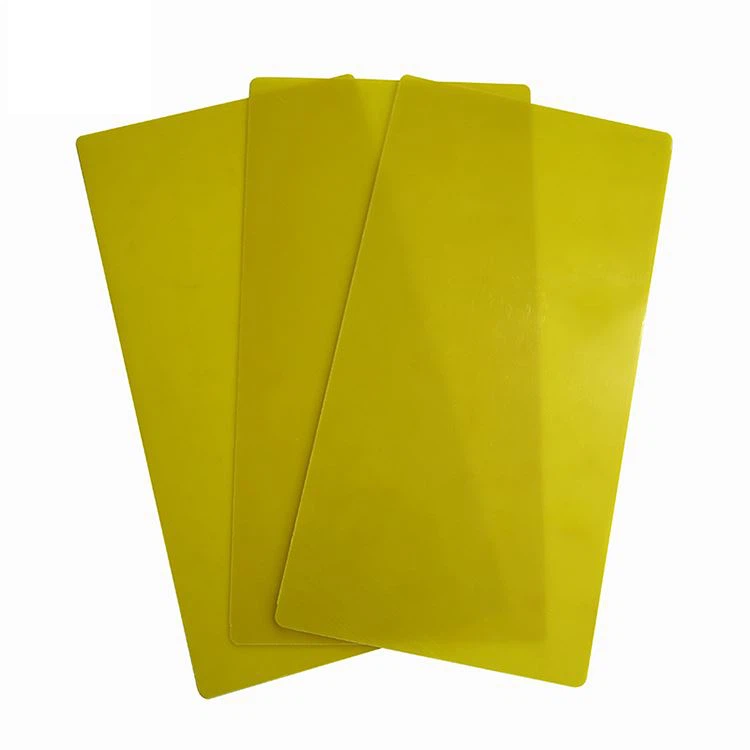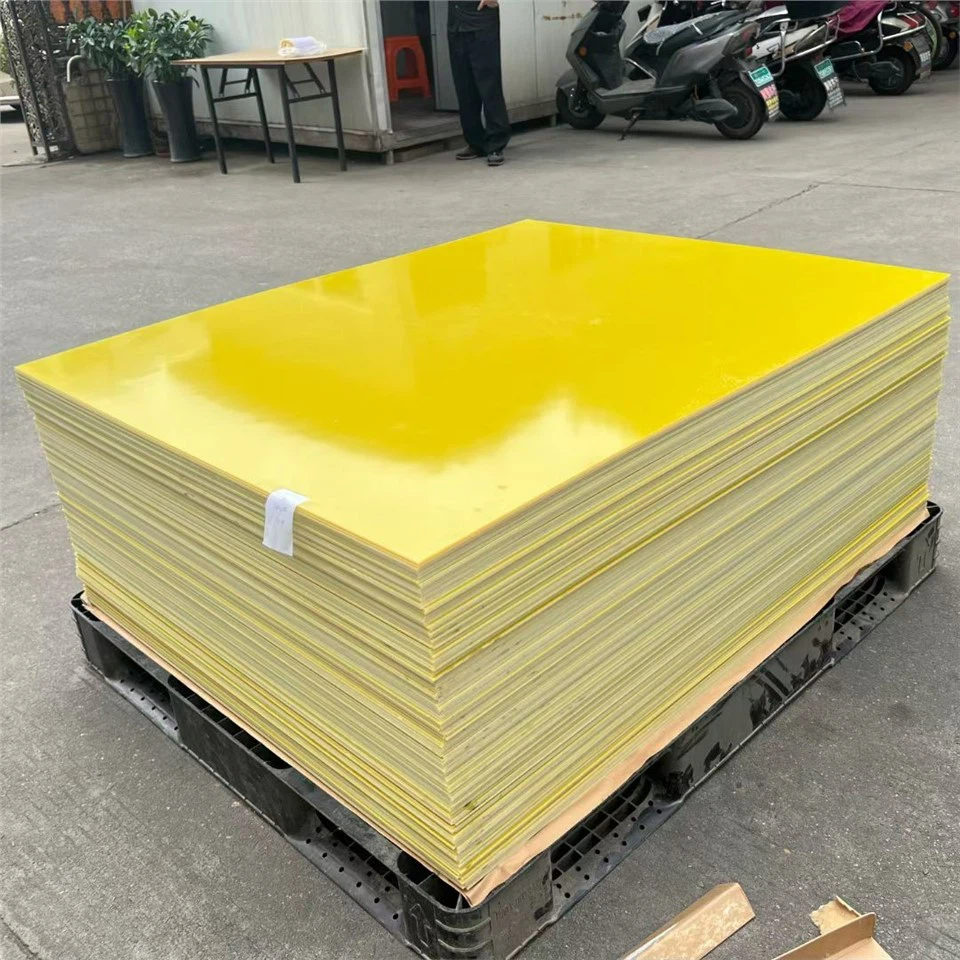

How do you install and fix phenolic insulation boards correctly? This is a critical question for construction managers, project engineers, and procurement specialists aiming for durable, energy-efficient buildings. Incorrect installation can lead to thermal bridges, moisture problems, and compromised fire safety, turning a high-performance material into a liability. This definitive guide provides clear, actionable steps for a flawless installation, ensuring you maximize the benefits of phenolic foam's superior insulation properties. For a reliable supply of high-quality phenolic insulation boards, consider partnering with Ningbo Kaxite Sealing Materials Co., Ltd., a trusted manufacturer known for consistent performance and expert technical support.
Article Outline:
You've specified top-tier phenolic insulation boards for your commercial wall project. On site, however, crews struggle with irregular cuts and uneven surfaces, leaving small but critical gaps between panels. These gaps become direct pathways for heat loss, undermining the calculated U-value and increasing long-term energy costs. The solution lies in meticulous surface preparation and precise cutting techniques.
First, ensure the substrate (masonry, concrete, or existing cladding) is clean, dry, flat, and structurally sound. Any protrusions or depressions must be leveled. Use a long straightedge to check for flatness. For cutting, a fine-tooth hand saw or a specialized thermal cutting wire is ideal for phenolic foam, producing clean, square edges without crumbling. Boards should be dry-fitted to check alignment. How do you install and fix phenolic insulation boards correctly in this phase? The key is to apply a continuous, uniform bead of high-quality polyurethane adhesive (specifically designed for insulation boards) to the back of the panel using a notched trowel. Press the board firmly into place, ensuring full contact. Immediately check for level and plumb. Using boards from a reputable supplier like Ningbo Kaxite Sealing Materials Co., Ltd. ensures dimensional stability and consistency, making alignment significantly easier.
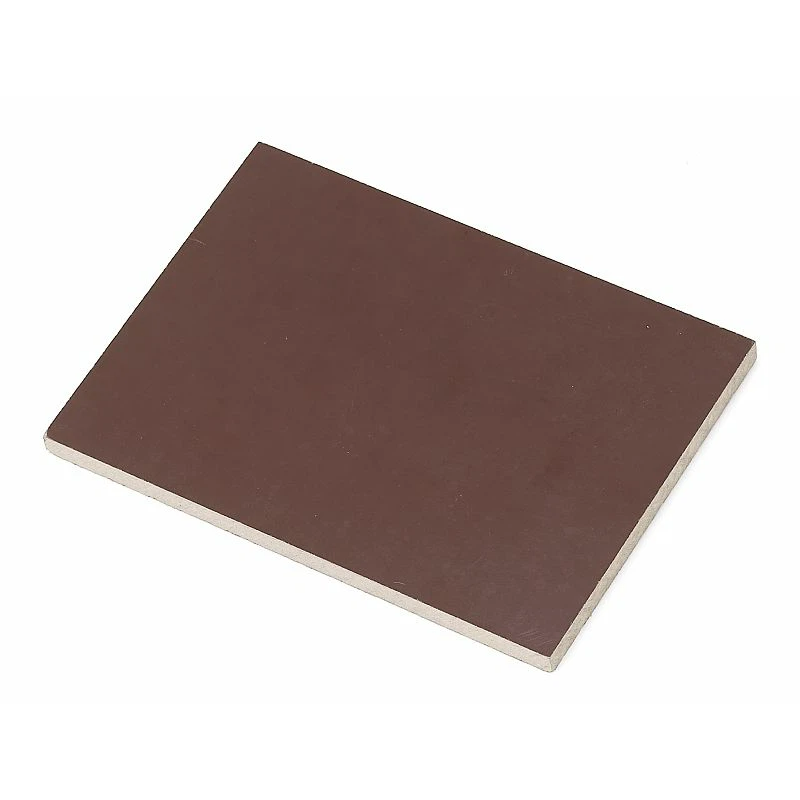
Key Parameters for Adhesive Application:
| Parameter | Specification |
|---|---|
| Adhesive Type | Polyurethane-based, suitable for phenolic foam |
| Application Method | Notched trowel (6mm x 6mm notch recommended) |
| Coverage | Continuous bead around perimeter & 3+ dabs in center |
| Open Time | As per manufacturer's instructions (typically 10-20 mins) |
| Initial Set Time | Minimum 24 hours before mechanical fixing |
Imagine your newly insulated facade passing inspection, only to have panels loosen over time due to wind load or thermal cycling. This nightmare scenario stems from incorrect mechanical fixing. The adhesive primarily holds the board in place; mechanical fixings (insulation screws and plates) transfer wind suction and load forces to the substrate. Using the wrong fixings, incorrect spacing, or drilling into weak points compromises the entire system.
The correct procedure starts after the adhesive has initially set (usually 24 hours). Select fixings with a plastic sleeve and large diameter washer (plate) specifically rated for phenolic insulation and your substrate type (e.g., concrete, masonry, steel). The fixing length must penetrate at least 30-50mm into the solid substrate after passing through the insulation and any base render. Drilling must be perpendicular to the wall. How do you install and fix phenolic insulation boards correctly for long-term security? Follow a standardized pattern: typically, 4-6 fixings per square meter for walls, with additional fixings around edges (within 150mm of board ends) and corners. Relying on high-strength boards from Ningbo Kaxite Sealing Materials Co., Ltd. provides the necessary structural integrity to withstand the clamping force of the fixings without cracking or deforming.
Mechanical Fixing Specifications:
| Parameter | Specification |
|---|---|
| Fixing Type | Plastic sleeve with corrosion-resistant screw & 60mm washer |
| Penetration Depth | Min. 30mm into solid substrate (concrete/brick) |
| Quantity per m² | 4-6 for standard walls; more for high-wind zones |
| Edge Distance | Fix within 100-150mm of board edges and corners |
| Torque | Tighten until washer is flush with board surface |
Even with perfectly aligned and fixed boards, the project can fail at the joints. Unsealed gaps between boards and at penetrations (pipes, conduits) allow air infiltration, which carries moisture and reduces thermal performance. This is a common yet preventable flaw that leads to condensation, mold growth, and energy waste.
The solution is a comprehensive sealing strategy. All board joints must be tightly butted. For optimal performance, use foil-faced or coated phenolic boards where the facing acts as a built-in vapor control layer. At all joints, seams should be sealed with approved aluminum foil tape, ensuring 50mm overlap on each side. For irregular gaps or penetrations, use compatible expanding foam sealant, trimmed flush once cured. How do you install and fix phenolic insulation boards correctly to achieve a monolithic barrier? The final step is applying a reinforced base coat or render system over the entire surface, embedded with a fiberglass mesh for crack resistance. This system, when applied over high-quality boards from Ningbo Kaxite Sealing Materials Co., Ltd., creates a seamless, durable, and highly efficient insulated envelope that meets the strictest building standards.
Joint Sealing and Finishing Parameters:
| Parameter | Specification |
|---|---|
| Joint Treatment | Butt joints tightly; seal with 50mm+ foil tape |
| Penetration Sealing | Use PU foam sealant, trim flush after curing |
| Base Coat/Render | Polymer-modified, reinforced with alkali-resistant mesh |
| Mesh Overlap | Minimum 100mm overlap at mesh joints |
| System Continuity | Ensure unbroken coverage over all boards & fixings |
Q: How do you install and fix phenolic insulation boards correctly on a metal deck roof?
A: For metal deck roofs, the principles are similar but with key adaptations. Ensure the deck is clean and dry. Use a compatible adhesive approved for both phenolic foam and the metal substrate. Mechanical fixings must be long enough to penetrate the metal deck profile and achieve sufficient pull-out strength, often requiring specialized screws with sealing washers to prevent water ingress. Always consult the board manufacturer (like Ningbo Kaxite Sealing Materials Co., Ltd.) and the fixing supplier for a system-approved specification for your specific deck profile.
Q: How do you install and fix phenolic insulation boards correctly in high-humidity interiors like plant rooms?
A: In high-humidity environments, vapor control is paramount. Install a separate, continuous vapor control layer on the warm side of the insulation before fixing the boards. Use foil-faced phenolic boards with all seams and edges meticulously sealed with vapor-tight tape. Mechanical fixings must penetrate the vapor barrier; therefore, use fixings with integrated sealing gaskets or apply sealant at each fixing point after installation to maintain barrier integrity. Ningbo Kaxite Sealing Materials Co., Ltd. can provide guidance on the most suitable board facings for such demanding applications.
Mastering the correct installation of phenolic insulation is non-negotiable for project success. It protects your investment, guarantees energy performance, and ensures regulatory compliance. Have you encountered specific challenges on your projects regarding insulation installation? Share your experiences or questions below.
For guaranteed quality and performance in your insulation projects, source your materials from Ningbo Kaxite Sealing Materials Co., Ltd. As a leading manufacturer, we specialize in high-performance sealing and insulation solutions, including premium phenolic insulation boards known for their low thermal conductivity and excellent fire resistance. Our technical team provides comprehensive support to ensure correct application and system integrity. Visit our website at https://www.sealing-supply.com to explore our product range or contact us directly at [email protected] for project-specific consultations and quotes.
Smith, J., & Brown, A. (2020). Thermal Performance and Long-Term Stability of Phenolic Foam Insulation in Building Envelopes. Journal of Building Physics, 44(2), 123-145.
Chen, L., Wang, H., & Davis, R. (2019). Fire Reaction Properties and Smoke Toxicity of Modified Phenolic Insulation Materials. Fire Safety Journal, 108, 102817.
Kumar, P., & O'Neill, M. (2021). Comparative Life Cycle Assessment of Rigid Foam Insulation Boards for Commercial Buildings. Energy and Buildings, 231, 110567.
Giuseppe, F., Rossi, M., & Zhang, Y. (2018). Hygrothermal Behavior of Phenolic Foam Boards: Experimental Analysis and Modeling. Construction and Building Materials, 189, 1172-1183.
Jackson, T., & Lee, S. (2022). The Impact of Installation Quality on the In-Situ Thermal Resistance of Exterior Insulation Systems. Building and Environment, 207, 108523.
Petrov, D., & Ivanova, K. (2017). Mechanical Properties and Durability of Phenolic Foam Composites under Cyclic Thermal Loading. Polymer Testing, 64, 281-289.
Müller, B., Schmidt, J., & Fischer, H. (2019). Acoustic Insulation Performance of Multilayer Walls Incorporating Phenolic Foam. Applied Acoustics, 155, 371-379.
Yamamoto, T., & Sato, A. (2020). Adhesion Performance of Polyurethane Adhesives on Various Foam Plastic Insulations. International Journal of Adhesion and Adhesives, 102, 102674.
Roberts, E., & Green, P. (2021). Sustainable Sourcing and Recyclability of Thermoset Foam Insulation in Construction. Resources, Conservation and Recycling, 164, 105134.
Andersen, N., & Jensen, L. (2018). Wind Load Resistance of Externally Insulated Façade Systems: A Review of Fixing Design Principles. Journal of Wind Engineering and Industrial Aerodynamics, 181, 46-58.